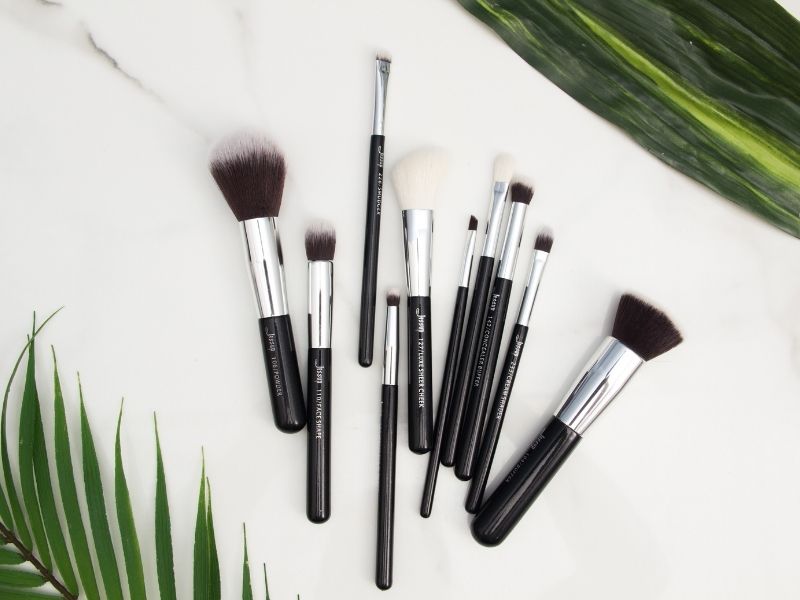
Makeup application can be subjective. Some may prefer the natural way of smoothing out your makeup with your fingers, while others like using beauty blenders. Either way, having a good collection of makeup brushes is essential! With so many different types of makeup brushes available, it can be tricky to decide which ones you need. Here are seven must-have makeup brushes to get the perfect blend.
7 Types Of Essential Makeup Brushes You Need In Your Makeup Kit
Foundation Brush
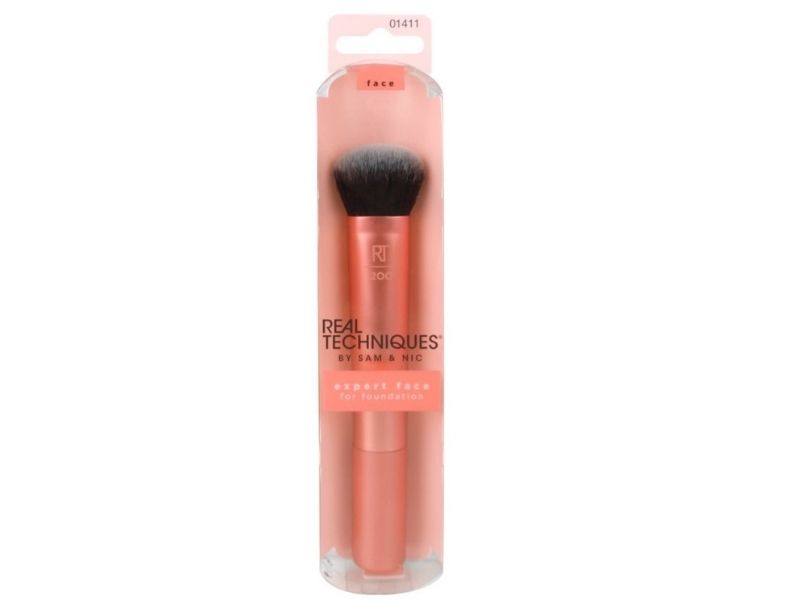
A foundation brush with a flat top and dome head is one of the best types of makeup brushes when it comes to applying foundation (especially liquid ones). It’s great for creating a smooth, even base, and overall does a quicker job at blending than a beauty blender. While they’re still a useful beauty tool to have, beauty blenders can be quite time consuming due to their stippling motion.
If you’re not willing to take the time (or perhaps you just don’t have that time) to pat in your foundation, a brush will certainly be more useful for you. Not to mention, a foundation brush provides better coverage too, as they won’t absorb as much product as a beauty blender would.
Concealer Brush
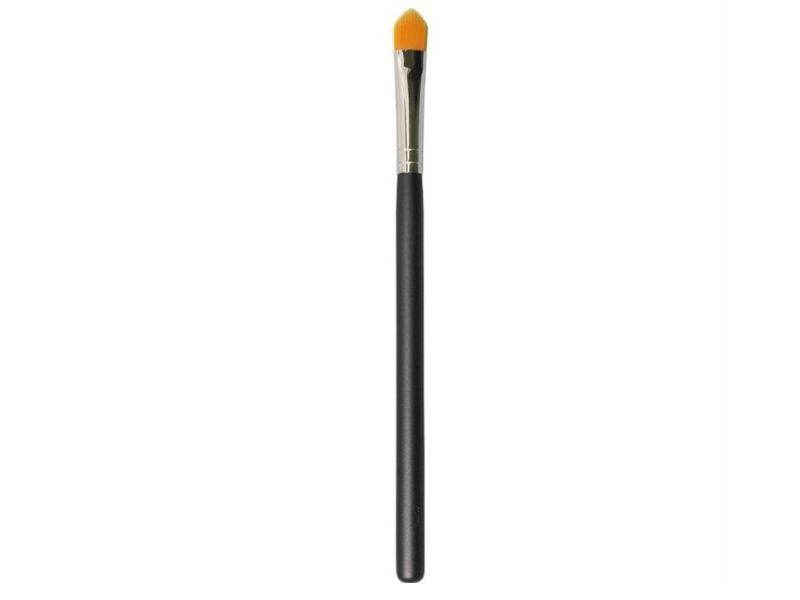
A concealer brush is a type of makeup brush that allows for precise spot concealing to cover up under-eye dark circles, random acne breakouts, or any other blemishes. Look for one that’s flat and firm with densely packed synthetic bristles; these will prevent the concealer from getting fully soaked up into the brush, leaving you with little product to apply. The width of the brush should roughly be around the same size as your under-eye socket. This way, you’ll be able to easily press in your concealer and sweep it across for a seamless blend.
Contour Brush
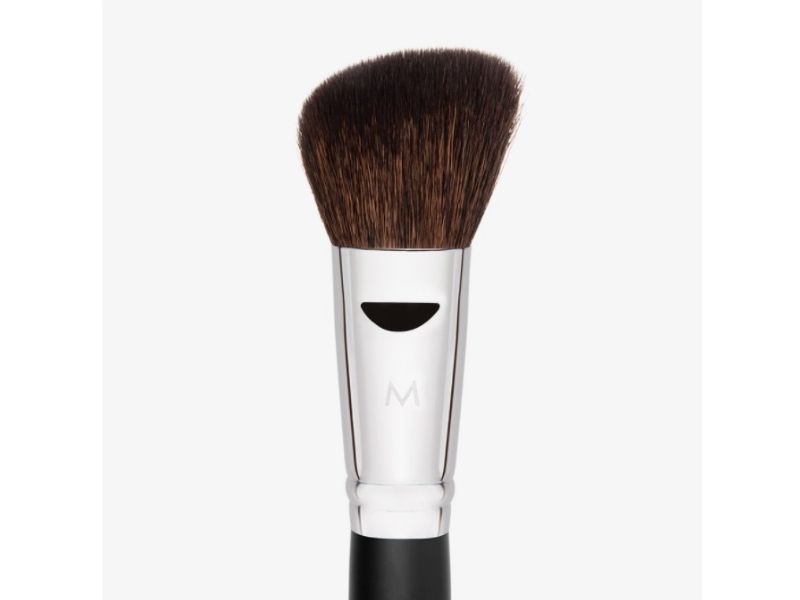
Contouring is the key to achieving a sculpted, defined face. It requires plenty of practice to master and the right type of makeup brush. You don’t want to be left with sharp and unblended dark streaks. An angled shape serves as a guide to help you follow the curves of your face. You can first use the angled contour brush (best for powdered contour) to map out the sides of your forehead, the area just below your cheekbones, and your jawline. Then, take a kabuki brush to fully blend out the product till you get that sharp, Kim K definition.
Highlighter Fan Brush
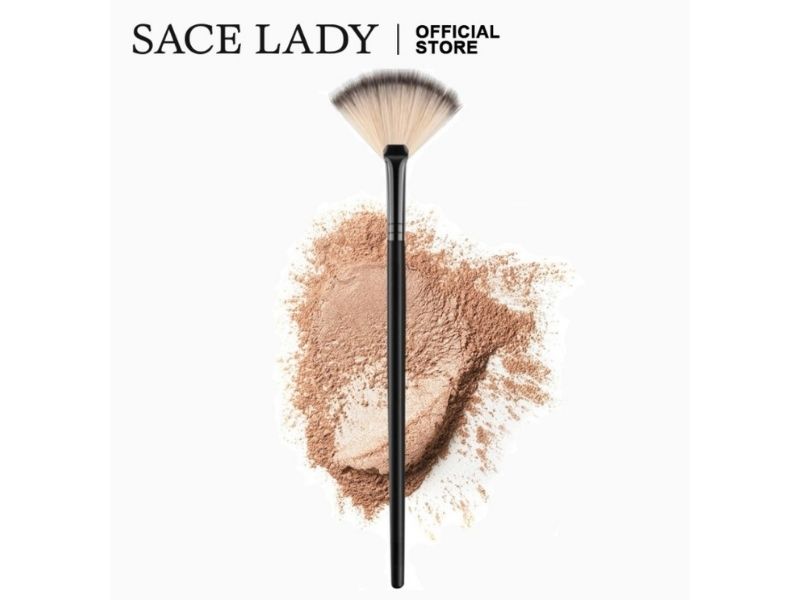
Highlighter can instantly transform your face from dull to radiant, especially when applied with a fan brush. The feather-like, soft and flat bristles make it suitable for gently sweeping on your powder highlighter. It lessens the intensity of the pearlescent glitters, creating a more blurring effect that will give you a glow from within while enhancing your features. Plus, fan brushes can clean up any other makeup mistakes you’ve made; brushing off eyeshadow fallout, or diffusing a harsh blush colour.
Pro tip: dust your highlighter on the highest points of your face (cheekbones, nose bridge, cupid’s bow, and brow bones), and observe where the light naturally hits.
Blush Brush
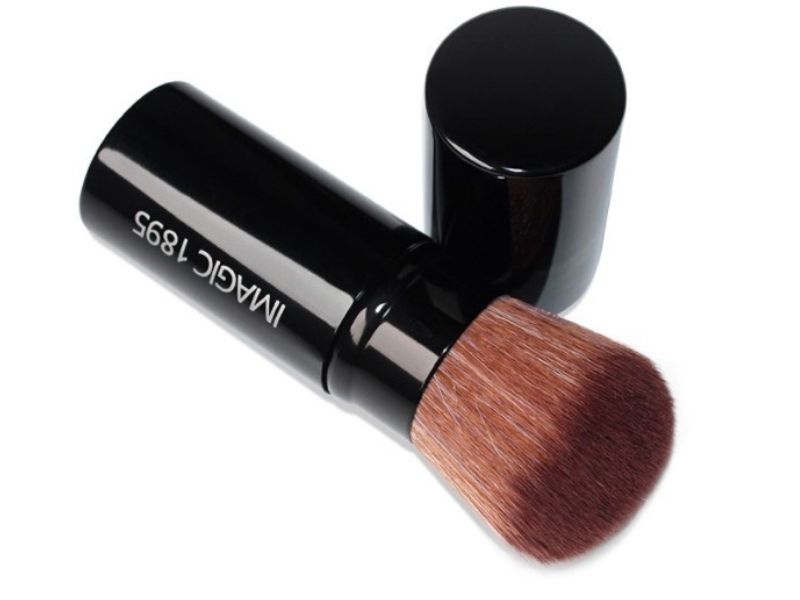
With this type of makeup brush, search for a dome-like shape, and about a medium-small size. It should be small enough to fit within the area of your cheeks, slightly below the cheekbones and above the contour line. This will keep your contour and highlighter from getting disturbed when you apply your blush. The bristles on your blush brush should also be on the fluffier side to diffuse the concentrated pigment for naturally flushed rosy cheeks.
Powder Brush
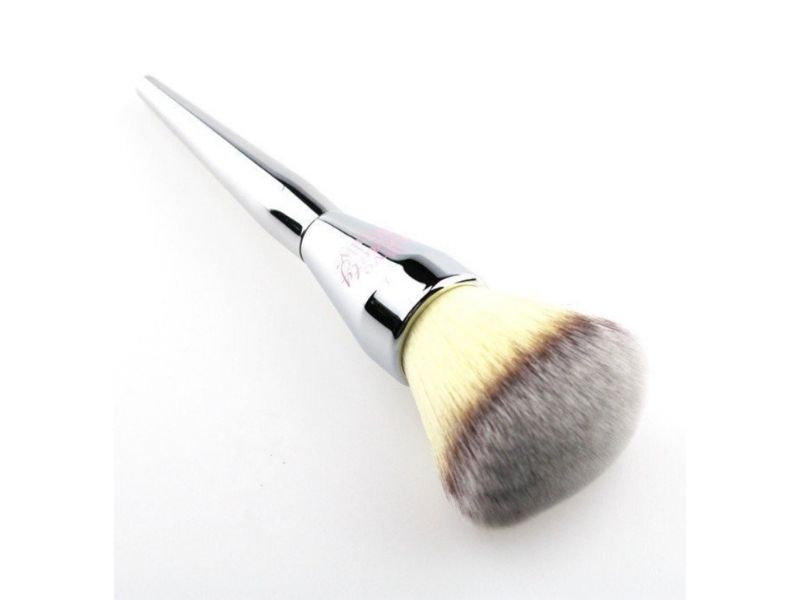
Setting powder, along with the type of makeup brush needed to apply them, are must-have staples in everyone’s makeup bag. No one wants to look like an oily mess when they walk out the door. The sizes for powder brushes can range from small to large. Whichever one you choose will depend on how many areas you want to cover.
Though generally larger and fluffier powder brushes are better at distributing an even layer of product. The loosely-packed, but dense bristles can pick up more loose powder and create a soft matte appearance when applied. Be sure to tap off the excess first before dusting on powder all over your face (especially on the T-zone and under eyes if you have oily skin) to keep your makeup from looking cakey.
Eyeshadow Brush(es)
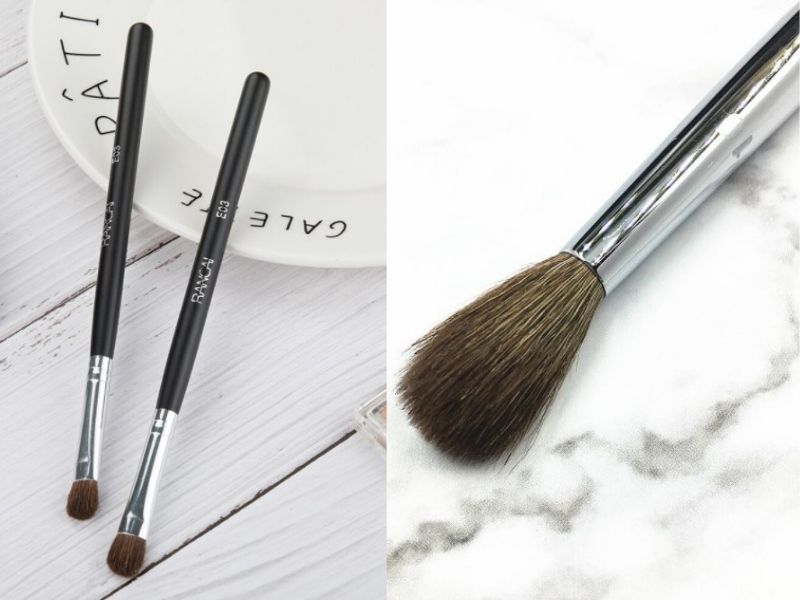
You’re going to need two types of makeup brushes to apply and blend your eyeshadow. Start by packing in your base colours with an eyeshadow shader brush. The flatness of the brush, along with its short and dense bristles are designed to easily pick up your eyeshadow for an excellent colour payoff.
This will give you the pigmented coverage that you’d want to wear all across your lids. Find one that’s big enough to sit comfortably in the eye socket or eyelid area, just beneath the crease. You don’t have to worry about getting the perfect blend with this brush yet, because we’ll be using another eyeshadow brush for that. Always pat in your shadow (this will prevent shadow fallout), never swiping back and forth.
To the blend out the edges of your eyeshadow, a tapered, fluffier, eyeshadow blending brush will be more suitable for the task. This will sheer out any harsh lines present in the crease till it becomes a subtle wash of colour. Use the windshield-wiper motion to diffuse strong pigment. If you’re layering multiple shades on top of each other, swirl the brush around the edges to soften them.
Get Flawless, ‘Influencer-Worthy’ Looks With The Right Types Of Makeup Brushes
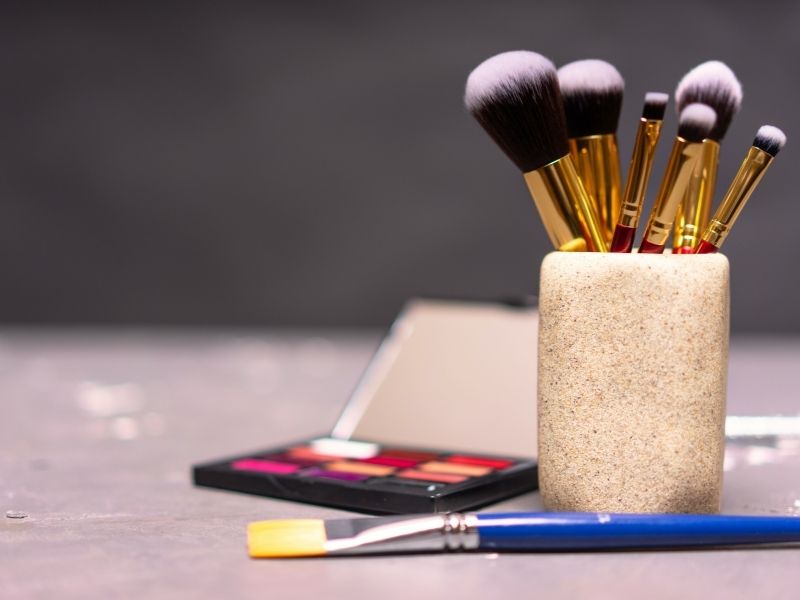
Having the most top quality brands of makeup will all be for nought if you don’t have the right types of makeup brushes to apply them properly. Take the time to find out which brush shape and size works best for your face’s features. Once, you have your tools ready, start experimenting with these simple makeup looks for dinner, to put them to practice.

