Some people swear by mechanical keyboards for several reasons. They offer high responsiveness and accuracy which makes them the preferred choice of gamers and typists. The clickety-clack typing sounds may not be for everyone, but they are music to the ears of those who are enamoured by keyboard ASMR. Did we also mention that mechanical keyboards can look cool AF with highly customisable parts and layouts? Almost every component of a mechanical keyboard can be tailored according to your needs and preferences. Ready to build your own custom mechanical keyboard?
Is It Better To Build Your Own Mechanical Keyboard?
Building your custom mechanical keyboard allows you complete freedom to tailor every little part to your liking. From how it looks to how it feels when you’re typing on the keys, you can be almost 100% satisfied with the end result, which is not something you can say for every pre-built mechanical keyboard.
Is Mechanical Keyboard An Expensive Hobby?
Mechanical keyboards can get pricey if you go for high-end models or parts. However, if you choose your components mindfully while adhering to a budget, you can build a custom mechanical keyboard for a similar price as a store-bought one.
How To Get Started On Building Your Own Custom Mechanical Keyboard
A non-complicated guide for first-time builders.
1. Prepare The Foundation (Keyboard Case + PCB)
A keyboard case holds everything together. The most common case materials are plastic and aluminium, and while the former is cheap, the latter is sturdier. You can also find stainless steel, acrylic, carbon fibre, and wood cases, each with its own aesthetic appeal.
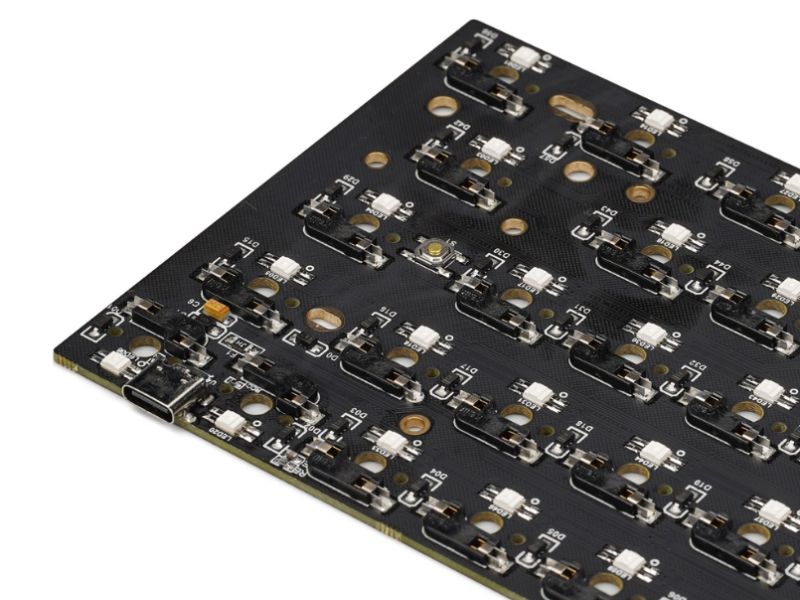
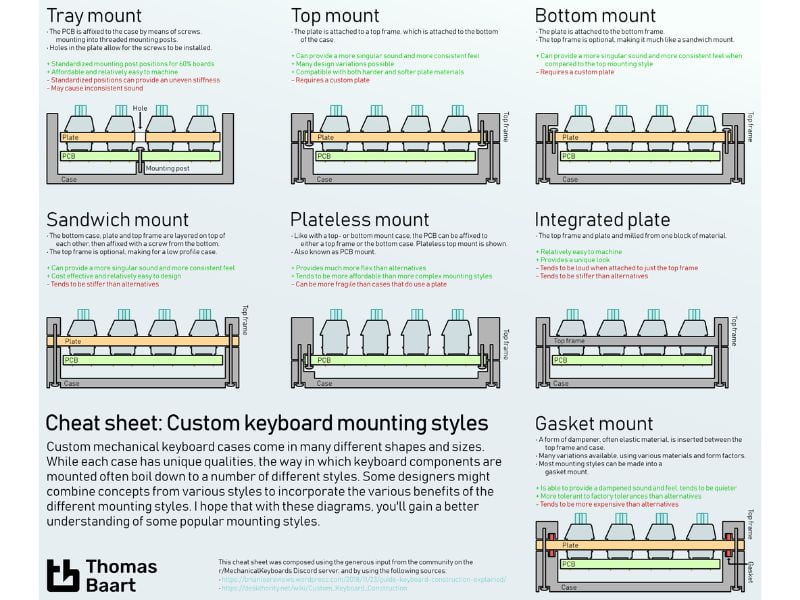
Apart from case materials, there are also different mounting styles for keyboard cases which refer to how the printed circuit board (PCB), plate, and switches are secured to the case. A PCB is essentially the brain of the keyboard containing all the necessary components to convert keystrokes into electrical signals and send them to a computer.
You can get a better understanding of the various mounting styles in the visual below:
If all these sound a bit overwhelming to you, fret not. You can get a DIY keyboard kit that comes with a matching case and PCB, plus a few essential components needed to start building a custom mechanical keyboard. These include stabilisers (to help bind the keycap to the switch and prevent larger keys from wobbling when pressed) and a switch mounting plate that ensures the keyboard switches are properly aligned.
Getting a DIY kit is highly recommended if this is your first build. It will make things a whole lot easier. Some great kits available in the market are the Feker ik75 Pro Kit 3 mode swap mechanical keyboard, Next Time Infinity 75 kit gasket mechanical keyboard, and DK68 hot swap mechanical keyboard kit.
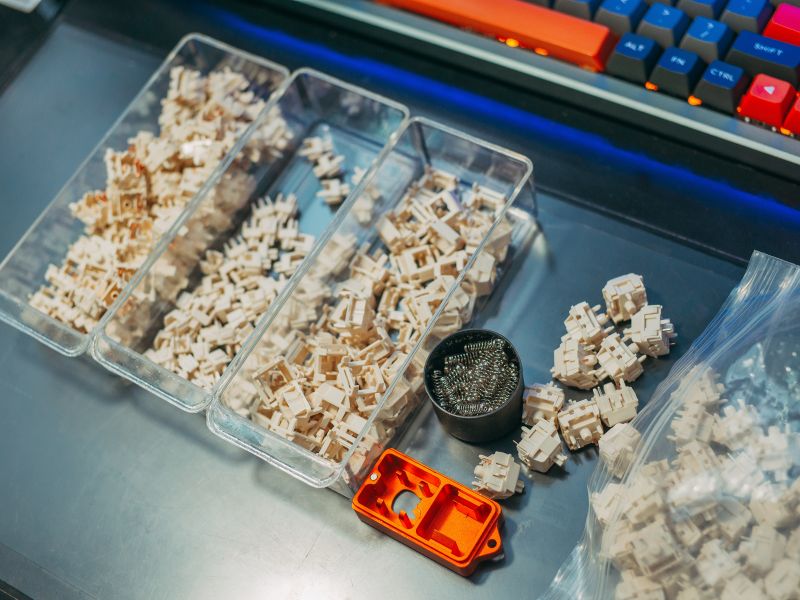
2. Choose Your Preferred Switches
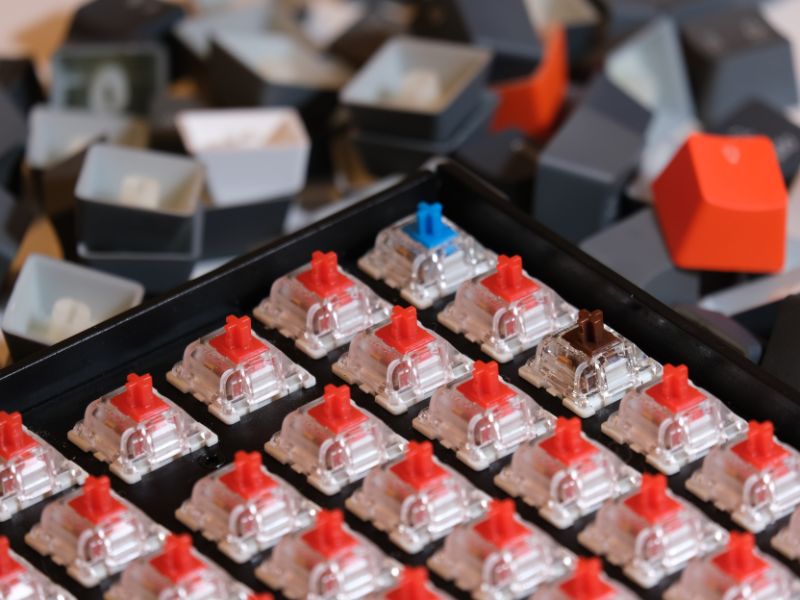
Keyboard switches are the mechanisms underneath the keycaps. Each key on a mechanical keyboard has its own complete switch mechanism. Generally, mechanical keyboard switches fall under three main categories—linear, tactile, or clicky.
Linear switches (red, yellow, and black switches): Provide a smooth and quiet keypress. Have very short pre-travel distance and light actuation force (the specific point when the keyboard switch registers the keypress) due to a lack of tactile bump, which makes them very responsive and sensitive. Suitable for gaming.
Tactile switches (brown and clear switches): Have similar construction as linear switches with the addition of a bump in the middle of the keypress that signifies the actuation point. With keypress registering before the keys travel all the way to the bottom of the press, tactile switches offer a faster typing experience. The preferred choice of typists.
Clicky switches (blue and green switches): The loud clickety-clack sounds often associated with mechanical keyboards are produced by clicky switches. Offer similar tactile feedback as tactile switches but with an added “click” or “ping” that provides audible feedback when keys are pressed. Great for typists and keyboard enthusiasts who appreciate the satisfying sound of typing. But probably not a good idea to use in an open office.
The Redragon Outemu MX Switch, 3 Pin Feker St.Panda Axis Switch, and Cateron Milky Yellow Pro Switch are some great switches to start with for your build.
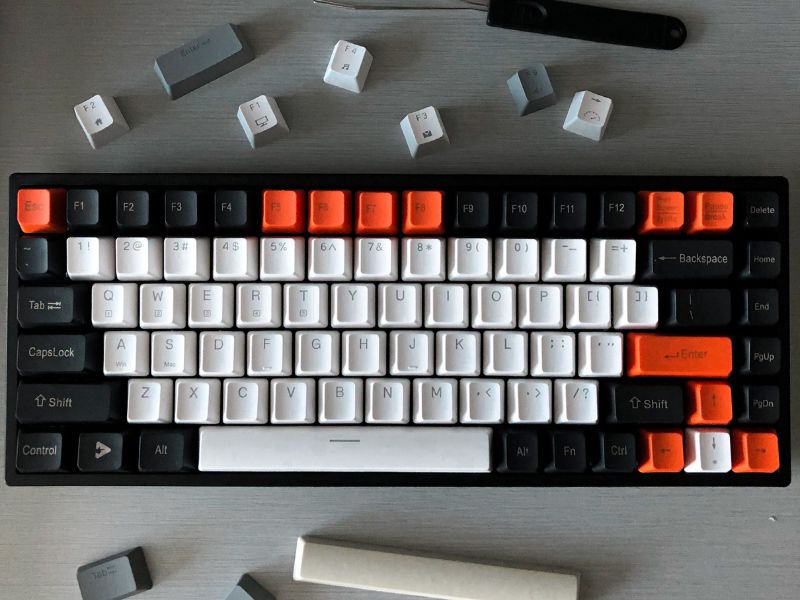
3. Go Wild On The Keycaps
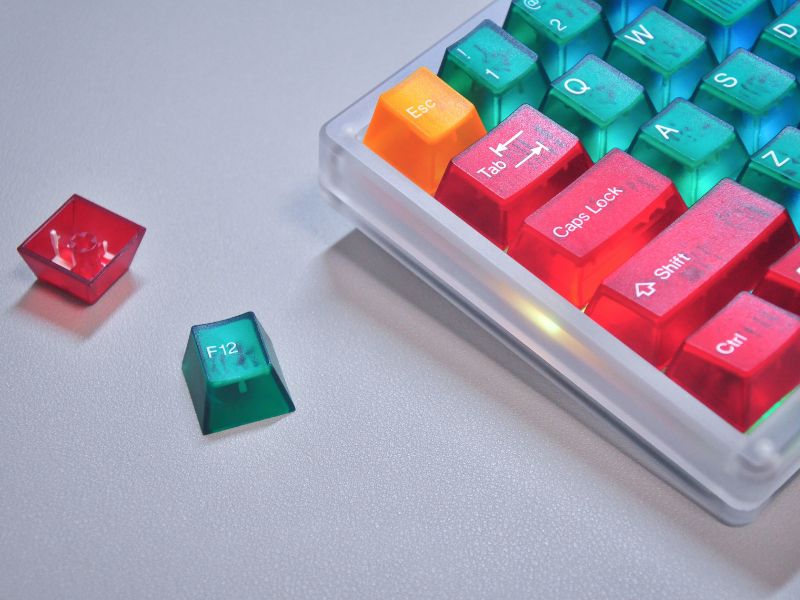
Now here’s the fun part.
A keycap is a small plastic cover placed over the keyboard switch to indicate the alphanumeric character or symbol they correspond to. Yes, in other words, the QWERTY keys.
The possibilities are endless when it comes to decking out your custom mechanical keyboard with keycaps. You can find keycaps in every colour and eye-catching design. Want to give your keyboard a classic retro look? Not a problem. How about replacing the boring keys with cute cats instead? Pawsome! For the minimalists who want a stealthy-looking keyboard, check out these super sleek Phantom keycaps.
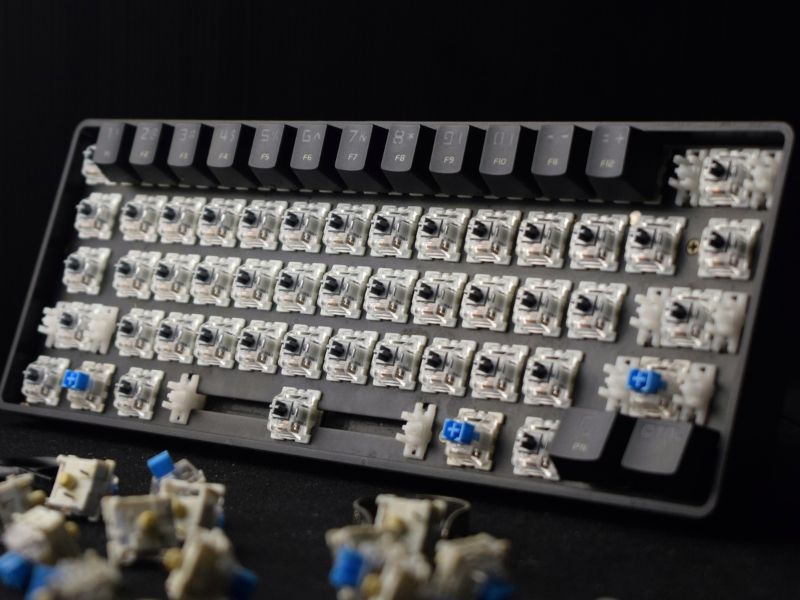
4. Get The Necessary Tools And Start Putting Everything Together

Now that you have all the main pieces, it is time to assemble them. The main tools you need are a screwdriver (better if you have a screwdriver kit), tweezers, and lube. Though a soldering iron and solder are usually part of the procedure, they are not needed for hot-swappable PCBs (which usually come in DIY kits).
To make things easier for you, we have included not one but two video tutorials on building a custom mechanical keyboard.
How To Build a Mechanical Keyboard WITHOUT Soldering
How To Build a Mechanical Keyboard l Simple Step-by-Step Guide
Never Be Bored With A Sick-Looking Custom Mechanical Keyboard
The beauty of having a custom mechanical keyboard—besides it being tailored to your very specific needs and aesthetic style—is that you can freely swap out any parts should you wish to try a different look and feel without needing to buy a new keyboard. And, as many mechanical keyboard enthusiasts have found out, these DIY projects can be turned into an indulging and productive hobby. Welcome to the world of mechanical keyboards and build away!
For more keyboard stuff, be sure to also check out our picks of the best mechanical keyboard for gaming and typing and budget gaming keyboards under RM100.
Visit Shopee IT Mall to get electrifying deals on DIY keyboard components as well as all things gaming, PCs, and laptops throughout March!