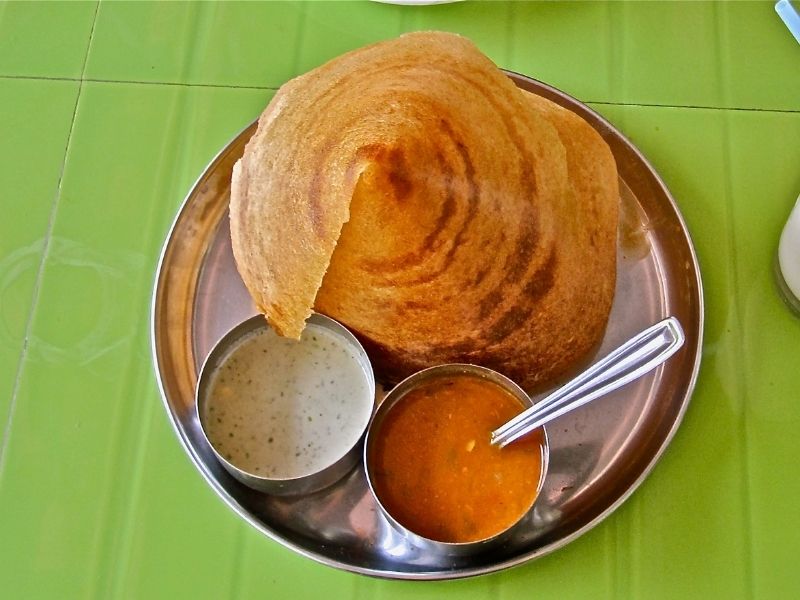
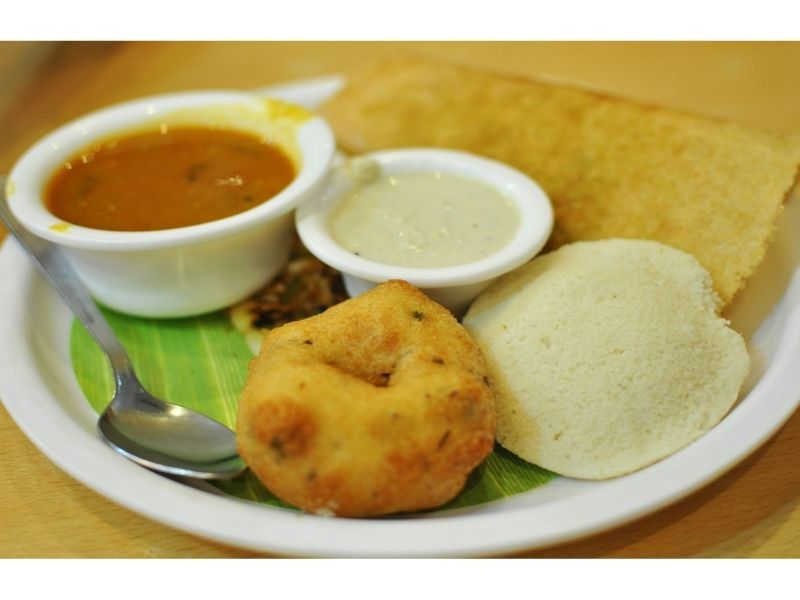
Thosai, or dosa as it’s otherwise known, is a staple at most mamak restaurants, but if you’ve ever had homemade thosai either by your own mum or when you visited your friend for Deepavali, you’d know that that stuff just hits different. Most homemade thosai is soft, fluffy, but just slightly crispy, and is an explosion of flavour in your mouth when combined with curry or chutney. It’s unlikely you will find a similar texture at your local mamak, so it’s good to learn how to make thosai on your own.
You don’t even have to be Indian to learn; the beauty of our Malaysian culture is that we enjoy each other’s cuisine. Read on to learn how to make this tasty light meal at home so you can whip one up whenever you’re craving it. PS: This author actually called up her Amma for this recipe, so it’s legit okay! *flips hair*
How To Make Thosai From Scratch
Part 1: Making The Thosai Batter

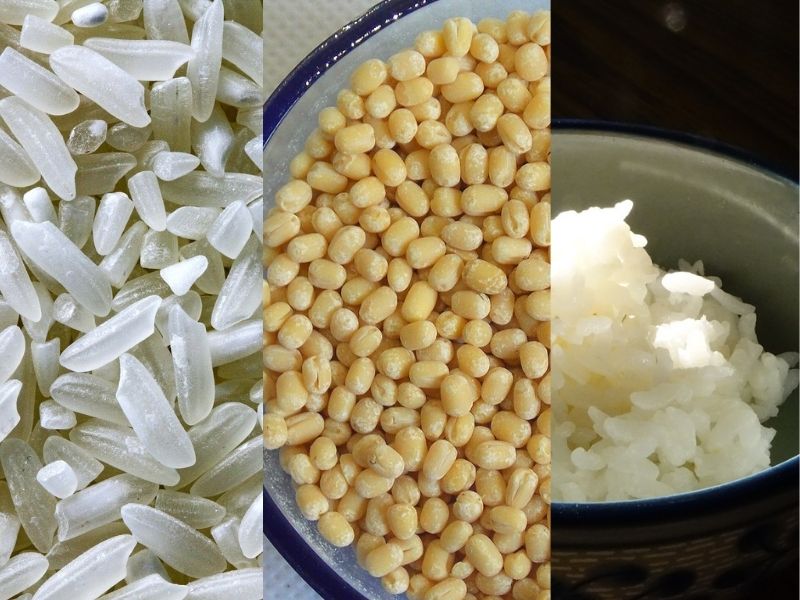
Thosai batter is generally made up of three ingredients: uncooked rice, urad dhal (known in Tamil as ulunthu), and some cooked rice. You can buy ulunthu online or at any Indian grocery store. The steps on how to make thosai batter are as follows:
- Soak in water one cup of uncooked rice, ¾ cup of ulunthu, and one scooped of cooked rice for six to eight hours. (Note: This is not the Western cup measurement; use a drinking mug or glass because that’s what Indian aunties use).
- Once time is up, throw away most of the water (but preserve a little bit for later). Blend all the ingredients and the little bit of water you preserved until smooth. If your blender looks like it’s struggling, add a bit more water to smoothen the process. Don’t add too much water because the batter needs to be thick (around the consistency of cake batter). The batter is ready when you touch it and don’t feel any grittiness from the rice/dhal.
- Add one tablespoon of salt to the batter, mix, and leave it to ferment overnight.
In the morning, your batter should have risen a little bit due to the fermentation process. You may see it being bubbly; this is normal and to be expected. If you’re lazy to make your own batter, an alternative is instant thosai mix, but it definitely will not be as good as if you make it from scratch.
Part 2: Cooking The Thosai

Okay, so you’ve learned how to make thosai batter. Now, it’s time to cook! To cook thosai effectively, you will need a thosai pan (also called a tawa) and some oil or ghee. If you don’t have a thosai pan, don’t fret; you can also use a non-stick flat-bottomed frying pan to cook your thosai. However, you may not get the same level of thinness you can achieve with a proper tawa (read: less crispy, softer thosai). To cook your thosai, do the following:
- Turn on the stove to medium-low heat and rub your pan with a piece of tissue with some oil or ghee on it. Don’t pour the oil directly in unless you want soggy, oily thosai.
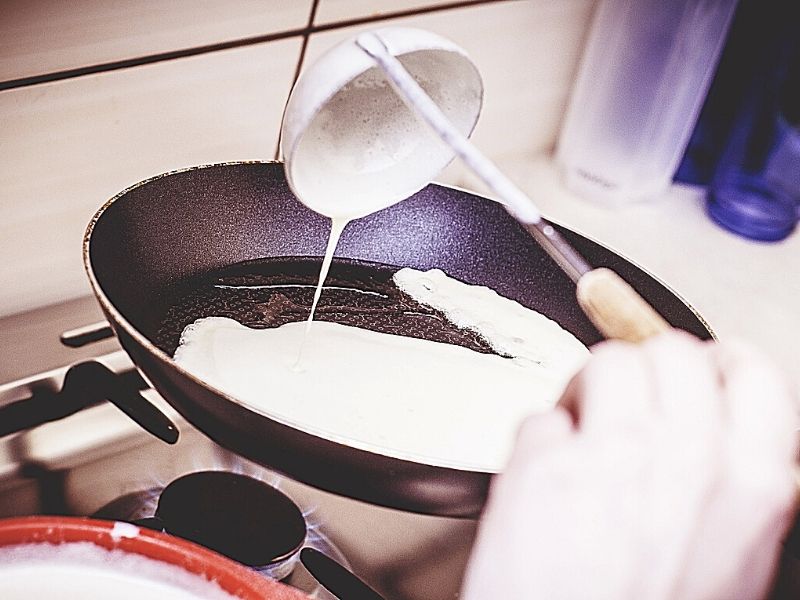
- Using a rounded ladle, scoop up your batter and pour it onto the pan. Very quickly, use the bottom of the ladle to spread the batter out evenly in a circular motion, from the middle of the batter to the edges of the pan. The thinner you spread it out, the crispier your thosai will be. Okay, that’s a lot to take in, so here’s a video:
3. Wait till the bottom of the thosai crisps up, and fold it in half when the top looks cooked. If you prefer, you can flip the thosai over to the other side to slightly speed up the cooking process, but this is optional. Repeat this whole process until you run out of batter.
And there you have it, you have learned how to make thosai, Amma-style! But of course, you’re not going to eat the thosai plain like that. The best pairing for this? Coconut chutney! Luckily for you, the author got that recipe from her mum as well. Read on to learn how to make coconut chutney for your thosai.
How To Make Coconut Chutney For Your Thosai

Ingredients:
- 1 cup/100 grams freshly grated coconut
- ½ inch ginger
- 2-3 cloves of garlic
- 5 dried red chillies
- ½ tsp salt
- 1/2 cup water
- 1 whole stem of curry leaves
- ½ red onion, sliced
- 1 teaspoon mustard seeds
Steps:
- Put a wok on the stove and turn on the fire. Add the grated coconut and dry fry it for a few minutes. Then, make a hole in the centre of the coconut in the wok, add a little bit of cooking oil, and add the following ingredients into the oil: ginger, garlic, three dried chillies, and a few curry leaves.
- Fry all the ingredients in the wok over medium heat until the coconut gets slightly brown.
- Put all the ingredients in the wok into a blender. If you don’t want spicy chutney, you can also remove the chillies from the mix before putting the rest into the blender.
- Add water and blend the ingredients until smooth. Keep aside.
- Add a little bit of cooking oil to the empty wok again. Add the mustard seeds and wait until they start popping.
- Throw in the onion, remaining two chillies (cut up), and the remaining curry leaves from the stem into the work. Fry them until the onions are browned.
- Add the smooth liquid in the blender into the wok. Add a bit more water into the wok to dilute the chutney a little. Mix the chutney until all the ingredients are well combined.
- Add salt and mix. Continue cooking the chutney until it starts boiling, and let it boil for a few minutes. Your coconut chutney is done!
Note: If you are still confused, the video below should show you the steps more clearly. You can also eat thosai with chicken curry, potato curry, or dhal curry. Prefer something sweet? The author loves her thosai cooked with ghee and sprinkled with sugar on top before it’s folded!
Learn How To Make Homemade Thosai This Deepavali So You Can Impress Friends & Family

We hope you are all set to make your own thosai now, especially with Deepavali around the corner! Don’t forget to load up on murukku and cookies too, because what’s a festival without these yummy-in-your-tummy snacks? For more recipes on delicious Indian cuisine, read our step-by-step guide on how to make murukku from scratch as well as these tasty chicken and mutton curry recipes!
